When designing landscape lighting, the reason behind the decision comes first; the other two things that usually come to mind include choosing the best outdoor lights and setting up outdoor lights. This way, you can select the proper landscape lighting. But for, this article will focus on how to landscape lighting design and landscape lighting techniques.
The design steps include developing landscape layout ideas, creating landscape sketches, choosing desired landscape lighting fixtures, organizing landscape fixture spacing, the layout with wire runs, and the source of power supply.
Best steps to landscape lighting design
1. Develop the landscape layout idea
The first and easy way to develop a landscape layout idea is to walk around it in daylight and nightfall; that way, you can easily choose critical areas by marking out essential features that need illumination like water features, stone walls, statues, etc. These are key landscape areas because of the visual characteristics and high/first-level lighting.
Other important focal points include pathways, driveways, porches, and deck areas requiring modern exterior lighting.
2. Create the landscape sketch
Creating a landscape sketch involves drawing the landscape. The drawing will include buildings and perimeters, trees, vegetation, docks, branches, and essential garden decorations. We will identify key landscape areas by creating a sketch of the landscape. By defining those key areas, you will also include the length and height of those focal points, adding any landscape lighting already present.
3. Choose desired landscape lighting fixtures.
After the first and second steps have been completed, choosing the right fixtures for those areas is more effortless. With this, you already have a layout of the landscape and note any other existing lighting system.
It is essential to choose the right fixtures because of all that’s involved and the complications it may cause. You can select either in-ground, accent, or flood landscape fixtures. Another important thing is the control of brightness levels, color, and beam. With landscape systems, there are two options, a solid die-cast or K-alloy aluminum.
Supplying a 120V and installing a 120V to your landscape are two different things. Supplying 120V can be hard work and costly while installing 120V involves wiring below the surface. If you have an existing 120V infrastructure on the landscape or want it installed close to the receptacle outdoor, a 120V is ideal. If you plan to use other layouts, then a power supply from a central power source is recommended for a landscape lighting system for 12V low voltage.
4. Landscape fixture spacing
When it comes to landscape fixture spacing, it depends on individual preference; on average, you get a 6 feet lead wire with every landscape lighting product; it helps when you want to make some adjustments. You will find some familiar landscape light fixtures below.
5. Final layout, including wire runs and power supply
The final landscape lighting idea brings together all the steps to life, from developing the landscape layout idea, creating the landscape sketch, choosing desired lighting fixtures, landscape fixture spacing, and now the layout, wire runs, and power supply. The benefit of using a 12V low voltage system provides space for more runs to all landscape fixtures from just a single transformer. The whole landscape lighting system can operate through a single power source whether it runs through underwater, wet or dry locations.
Another critical point is to select the correct transformer size and maximum wattage capacity between 75 to 600 watts; this is because of the number of fixtures used and fixture runs involved in the project.
Another critical point is to allow some space for expansion, in the case of additional landscape fixtures like garden features or planting a tree. Allowing room for future additions helps avoid tampering with the existing setup.
Another crucial point is to add a lighting timer or a photocell to help control the landscape lighting automatically. Also, it is essential to use an energy-efficient LED for your landscape lighting plan, using line voltage or low voltage systems with advanced technologies.

Types of outdoor lighting fixtures
Below are the different types of outdoor lighting fixtures with descriptions, spaces, and how to use them.
| Fixtures | Descriptions | Spaces |
|---|---|---|
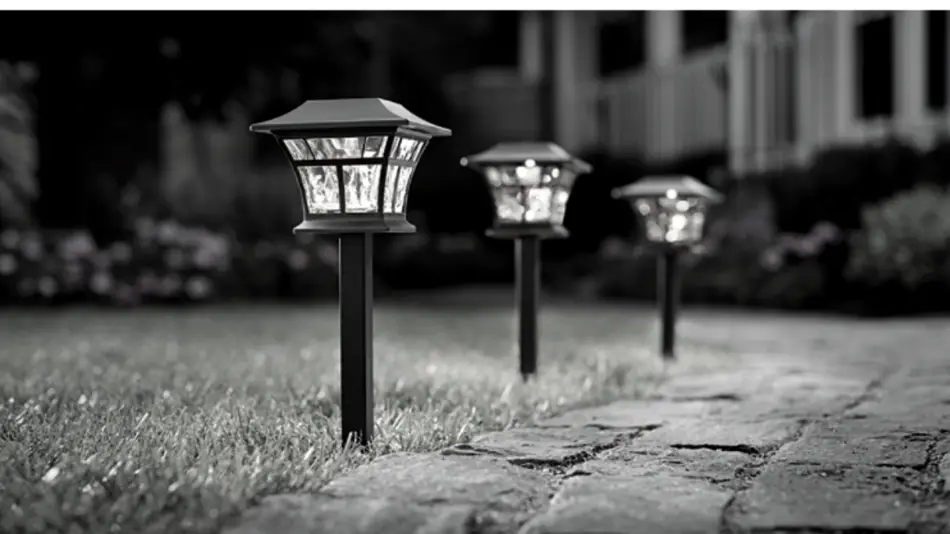
| 1. Path lights | Path and area lights light up pathways for safety and to beautify the home. | The space between path light and area light is about 10ft |
| 2. Accent lights | The accent or spotlight is adjustable and helps create some nice effects for down or uplighting. It is for precision lighting like illuminating structures in a garden, specific trees, or any other elements. | For significant elements like big trees, you need up to 4 fixtures, and for more minor features, you need fewer than two fixtures. |
| 3. Wall wash | The wall wash light is for a broader and even flood of light, used for garden walls and fences. | For wall wash light, place the light about 2ft or less from the wall for even illumination. For light-to-light spacing, 6ft to 8ft apart is good. |
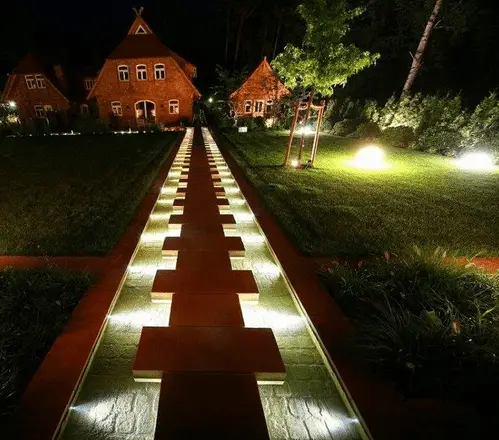
| 4. In-ground lights | The inground light help illuminate pathways or tall tree, or driveway. | Spacing: For pathways, about 4ft to 6ft apart, and for tree illumination, about 3 to 4 fixtures around the tree. |
| 5. Hardscape fixtures | The hardscape fixtures are low profile and easily concealed under landscape and architectural features like bench seating, window ledges, post, deck handrails, and much more. | If you require to illuminate the large area, you need a large size hardscape fixture; for small tight spaces, use 3in size, and for under deck rails, steps or walls, use a 6in size. |
| 6. Indicator lights | The indicator lights highlight patio or deck edges used to highlight the driveway perimeter. | For indicator lights, you need at least 2ft spacing to mark border perimeters of the desired area. |
Landscape lighting design guide
Landscape lighting design guides involve different strategies to highlight a key point or focal point areas. In addition, the design guides help to create a landscape lighting effect that has to do with a particular mood or ambiance in the area. Below are some of the best landscape lighting design guides.
1. Highlighting
Use highlighting light to illuminate the color, form, and shape of an element around the home. In other words, creating awareness or the presence of an object can be achieved by using floodlights or spotlights below/around the feature. With this lighting, you can easily adjust the beam angle and distance until the desired effect is obtained.
2. Silhouetting
The light is usually hidden to create a silhouette by placing well-lights or a spotlight behind the object that highlights the shapes. As a result, these shapes are not particularly noticeable by day or with sunlight.
3. Accenting
Accenting is used to point out specific features of an object or element like statues or trees by focusing the spotlight narrowly pointing up or down from a hidden position on the item.
4. Shadowing
Shadowing creates a shadow on the hardscape or wall from behind the object of interest with a moody effect. To achieve the shadowing result, you can use a floodlight, well-light, or a spotlight to illuminate the object by placing it between the vantage point and the object.
5. Moonlighting
Moonlighting is used to create a moonlight effect, a common practice of using spotlights on rooftops or trees angled downward. In addition, it intends to make soft light fixtures and soft shadows that bathe the ground from the tree branches.
6. Washing
Washing is the indirect illumination of vast hedges or wall with even floodlights that focuses on an entertainment space.
7. Downlighting
Downlighting uses accenting method on garden features from above; downlighting tends to replicate natural lights. It creates a warm natural glow and makes the garden safe and secure.
8. Uplighting
Uplighting helps create drama with objects or structures like trees, showing off their shape and form below. It can also create different illumination angles when spotlights or well lights a placed close to the base.
9. Grazing
Grazing lights illuminate or graze flat surfaces with dramatic shadows by taking advantage of the texture using well-lights or hardscape lights.

Landscape lighting design tips
- Avoid overlapping of lights by mounting fixtures very close together.
- Indirect lighting works better instead of focusing lights directly on the patio.
- Use specially developed outdoor gel-filled wire connectors with splice connections.
- Factory-installed connectors are standard connectors that corrode quickly after a short time; you should get rid of them.
- Before installing any underground wiring, ensure to have any or all planting intended for the landscape to avoid cutting buried cables.
- You can use halogen bulbs and LED lights without trying to switch one to another.
What is the best low voltage landscape lighting
Below is the list of top low-voltage landscape lighting used for outdoor lighting.
| Low-voltage landscape lighting | Features |
|---|---|
| ZUCKEO 5W LED Landscape Lights – Best LED Landscape Lighting Kits | LED Light source 12V Input voltage Warm white color IP65 waterproof 270-degrees adjustable head Thick aluminum material 500 Lumens per piece |
| MEIKEE 7W LED Landscape Lights – Best Pathway Outdoor Lights | 7 watts LED lights Working voltage 12.24V Rating: IP66 waterproof 800 Lumens Aluminum body |
| SUNVIE 12W LED Lights – Best LED Landscape Lighting Kits | Aluminum Material 12V input voltage AC/DC Super warm white 50,000-hour lifespan IP65 waterproof Beam angle 90 degree 270 adjustable degree |
| Hypergiant 12W LED Lights – Best Security Landscape Lights | 12 watts Black cast-aluminum material Warm white color 3000-3500K IP65 waterproof 20,000 hours lifespan 12V Input voltage AC/DC 850 Lumens |
| Lumina Low Voltage Lights – Affordable Low Voltage Landscape Lights | Spotlight Aluminum material 12V 160 adjustable degree Tempered glass lens |