An oven that doesn’t clean itself might be a big problem, but fortunately, it has a common cause. If your Whirlpool oven doesn’t clean on its own, you can easily fix the issue by following these easy steps. Follow these simple steps before calling in an appliance maintenance specialist. But first, why is my Whirlpool oven not self-cleaning?
Why is my Whirlpool oven not self-cleaning?
The Whirlpool oven is up to the standard of high-quality appliances, so you may wonder why your oven doesn’t self-clean after a certain period. Here are some reasons to help you identify what may prevent the cooker from self-cleaning.
- The oven cleaner poured inside the oven has evaporated over time and no longer works appropriately to remove baked-on food.
- Too much dirt on the floor or the nonstick coating on the bottom of the appliance prevents it from cleaning itself properly.
- The control board may need to be replaced.
- The glass on the oven door is dirty or has a coating on it.
- The door seal cannot close properly.
How to fix a Whirlpool oven not self-cleaning
Here is a guide for a possible solution to the oven self-cleaning problem.
- Turn the switch and timer to “OFF” and unplug the power cord from the wall outlet.
- The oven has to cool completely down before you can see the interior. It takes around 5 to 15 minutes.
- Before cleaning the oven, you have to be sure it is empty; you should remove all items in the oven. No food should be stuck in the fan, no cupcake frosting on the racks, and no foil wrapped around any broiling element or heating unit.
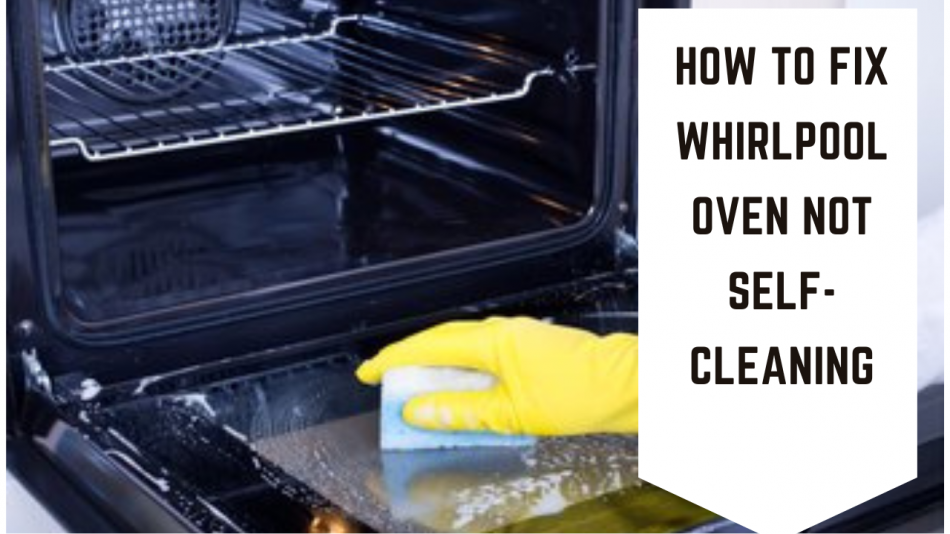
- Use a soft, moistened cloth with either distilled vinegar or a mild disinfectant solution such as diluted bleach to wipe off spills and clean the inside glass door and parts of the door frame.
- Take the door frame apart to remove any food spills that dried onto the frame. First, grab the center of the door handle and pull outward. Now, pull from one side of the glass. You will hear a “snap,” and then you can disconnect the other side. Wipe down all parts with a damp cloth and let them dry completely before putting them back together.
- Don’t forget to clean the shafts where baking racks are attached for food spills and bits of food stuck around broiler elements. Pay extra attention to this because this is an area where heat usually builds up and burns off foil wrappings if they are left on during the broiling process.
- If everything is clean, reassemble the door frame by attaching the door glass back to its hinges and reattaching the center of the glass from the hinge side.
- Plug in and turn on the power.
The oven will heat up and clean automatically, so there’s no need to run a cleaning cycle manually. This process is guaranteed to work for Whirlpool ovens older than ten years. You can also try this same method for other Whirlpool models. If that doesn’t work, all hope isn’t lost yet.
If the oven has been operating for a while, it may take longer than usual to reach 400 degrees F; thus, the cycle may not start. Instead, start the cleaning cycle and let it run till 350°F. After cooling, reassemble the oven.
Since your oven is over ten years old, it probably still has iron filings. Scrub one side of each slide grate and any food-stained places with equal parts vinegar and water.
Older ovens may have damaged heating elements. You must manually flip the timer knob to start a cleaning cycle. When your oven heats up, steam should come out of each side door vent. If there’s no steam, manually increase the timing knob.
If this doesn’t work, replace your oven. If the oven doesn’t heat, there’s a problem; a defective element or circuit board may be to blame. If you’re not skilled or experienced, don’t try to fix it.
Preheating, charbroiling, primary oven temperature, cooling, and a clean cycle make up the Whirlpool oven cleaning sequence (self-cleaning). Self-cleaning your oven takes about 3 hours. The oven becomes quite hot during self-cleaning. Let your oven cool before using it.
Whirlpool’s cleaning cycle begins with a preheat at 400 degrees F. After the preheat cycle, the oven will charbroil for 45 minutes at 650 degrees F. This loosens burned-on residue from earlier cooking.
After an hour and a half, your oven will cool for 30 minutes before starting a clean cycle. When the oven reaches 425 degrees F, it starts cleaning. The cleaning procedure will continue for 3 hours at 350°F, then cool down. Finally, you may re-bake your dish.
How do I reset my Whirlpool self-cleaning oven?
To reset your Whirlpool self-cleaning oven, you will need a Phillips screwdriver:
- Find the oven’s door release latch and use the screwdriver to turn it counterclockwise until you feel it release from its position.
- Pull out the oven door and remove any attachments before or behind it.
- Put your hand on the top of the upper insulation panel and push up on it firmly for about one minute.
- Replace any attachments removed in step two, then close and secure the door by turning clockwise until you feel a click (when rotating clockwise).
How do you use the auto-clean on a Whirlpool oven?
The auto-clean function on your Whirlpool oven is an excellent way of keeping it in tip-top condition. Put some water in the bottom of the oven, set it onto one of the cleaning cycles, and then leave it to work its magic! The self-cleaning mode does all the hard work for you, so all you have left to do is wipe away any stubborn stains.
How to clean the oven door glass and enamel.
The glass on your Whirlpool oven door can quickly become dirty, especially with kids around! Oils from your hands or fingerprints left from your little hands mean that you need to clean them as soon as you notice them. To keep the oven door glass spotless,
- Rub it with our handy kitchen cleaning wipe and some detergent for stubborn marks.
- A dry cloth works great for polishing off the residue to give you an extra shine.
- Then use your kitchen cleaning wipe on any stains that remain on it, and they’ll easily wipe away.
Conclusion
You can solve the problem by cleaning the oven or replacing the defective parts mentioned above for your Whirlpool self-cleaning oven to work correctly again. Just follow your user manual or appliance parts list to resolve your issue.